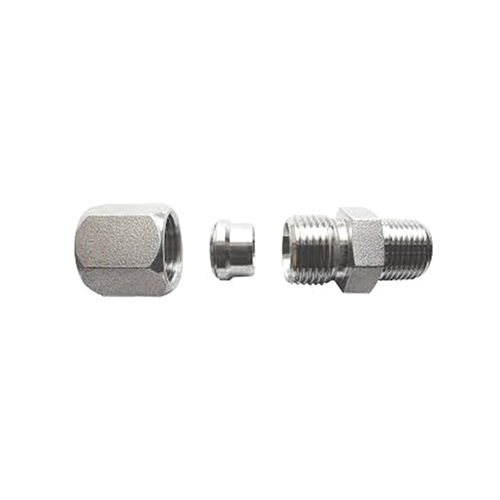
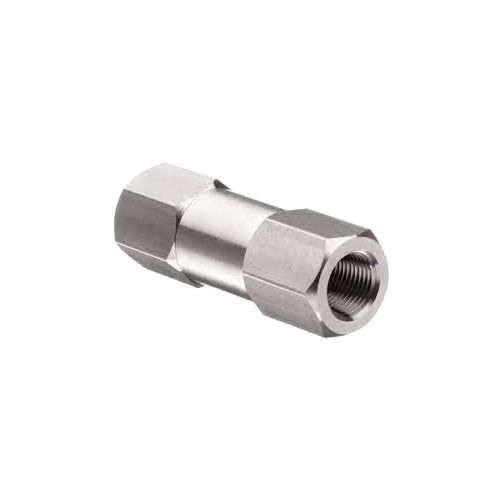
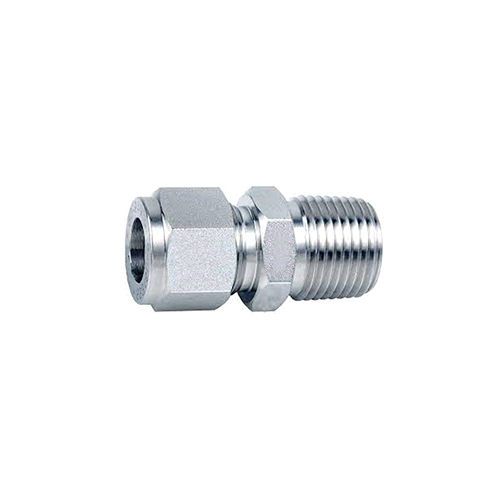
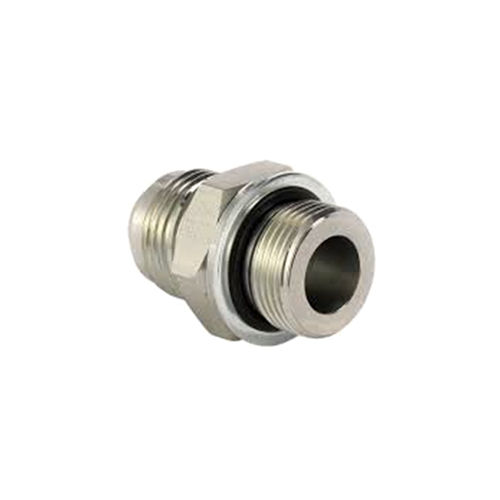
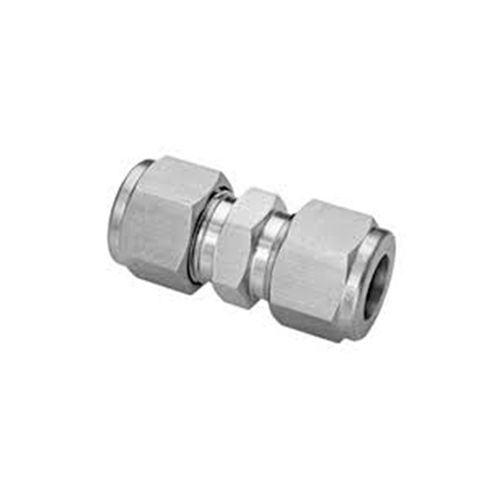
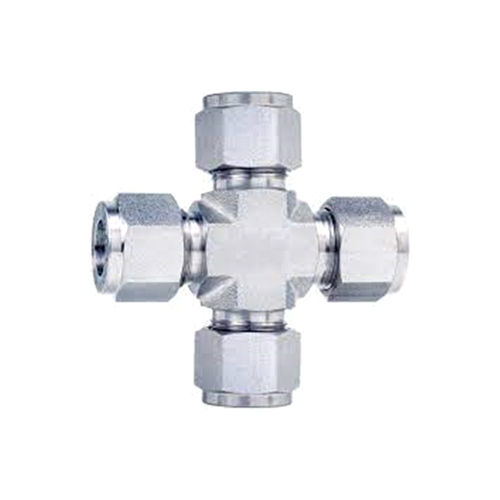
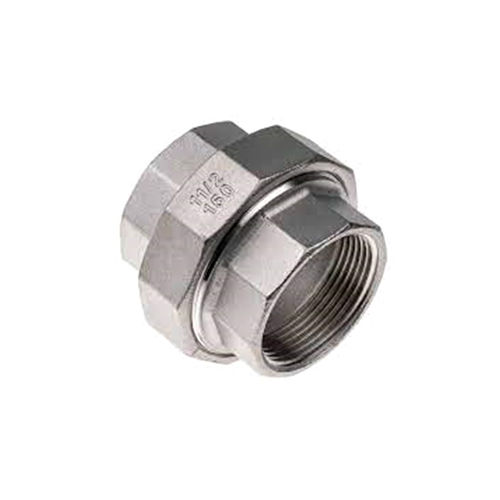
Durable, Sturdy and Affordable Hydraulic Fitting, Cock Valve, Compression
Fitting, Stainless Steel Male Connector, Stainless Steel Union Cross, etc.
Our company has gained the trust of a huge clientele owing to:
- Customization Facilities: We understand the needs of the clients and provide them with the best solutions to suit their needs.
- Responsiveness: We ensure quick responsiveness for converting CAD-CAM concepts to full-fledged production.
- Modern Manufacturing Base: Our high-tech manufacturing base enables us to design the best-quality products on short notice.
- Strict Quality Management: We are dedicated to providing high-quality products by harnessing contemporary production and quality management techniques.
Our Vision
To be a leading name in the market by offering value-added products in standard as well as tailor-made designs.
Technically-Sound Production Unit
We own a high-tech production base to create premium products with a high chemical rating, an anti-corrosion structure, and an abrasion-resistant design. These weather-resistant products are designed to withstand a range of temperatures in hazardous process industries. We translate designs into CAM manufacturing by using CNC Machines. We also have machining centres, plasma and band saw cutting,turning centres, cylindrical grinding, sand blasting, etc. In addition, we also have the facilities for threading, induction hardening, boring and milling, sawing, drilling, tapping, lapping, finishing, debarring, heat treatment of parts, and ultrasonic cleaning, whether Owned OR Subcontracted.
Area of Application
Our products are widely used in different domains such as instrumentation, hydraulics, process control, and pneumatics. They are installed in varied applications in the following sectors:
- Shipbuilding and Offshore Industries
- Power Plants
- Oil and Gas Industries
- Chemical Industries
- Process Industries
- Paper and Pulp Industries
- Cement Industries
- Automobile Industries
- Refineries
- Paint Industries
- Automation Machinery
- Plastic and Rubber Processing Machines
- Food and Beverage Equipments
- Industrial Mining Equipments
- Life Sciences
- Lab Testing Equipments
- Motion and Control Technology Equipments
- Hydro-Static Drive Systems
- Hydraulic Press and Power Packs
- Packaging Equipments
- Machine Tool Applications
- Pollution Control Equipments
- Offshore Engineering
Quality Assurance
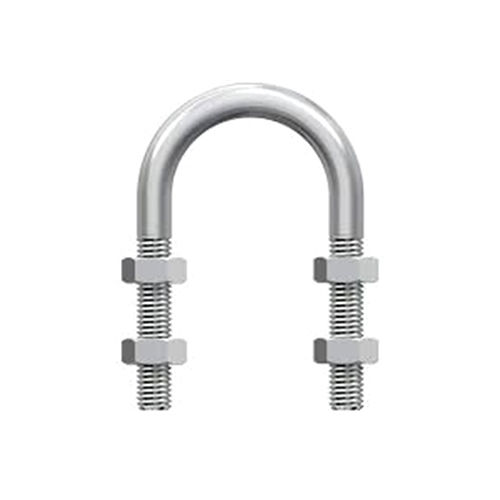
Quality assurance is an integral part of every single process at our unit. We have been adhering to the national and international quality norms to provide the best Stainless Steel Union Cross, Galvanised U Bolt, Hydraulic Fitting, Cock Valve, Compression Fitting, Stainless Steel Male Connector, etc. to the patrons. Right from the selection of raw materials, drawing, and annealing to development and delivery, we follow the global quality norms at every single step.
|
Sr. No. |
Process |
Characteristics to be Checked |
Measuring Instruments |
Quantum to be Checked |
|
1 |
Raw Material: Tube Inspection |
Dimensions |
Micro Meter |
Random Sampling |
|
2 |
Swaging | Swage degree and length |
Visual |
Random Sampling |
|
3 |
Drawing :- Intermediate Cutting |
Dimensions Surface & Length |
Micro Meter |
Random Sampling |
|
4 |
Intermediate Annealing |
Draw Ability |
Visual |
Random Sampling |
|
5 |
Straightening |
Dimensions |
Micro Meter |
Random Sampling |
|
6 |
Finish Cutting |
Length |
Measuring Tape & Visual |
100 % |
|
7 |
Deburring |
Burrs on End |
Visual |
100 % |
|
8 |
Inspection |
Length and Surface |
Measuring Tape & Visual |
100 % |
|
9 |
Annealing |
Temperature Speed |
Thermo Couple and Speed Controller |
Batch Wise |
|
10 |
Final Inspection and Testing |
Dimensions and |
Micro Meter & Measuring Tape |
100 % |
|
11 |
Packing & Dispatching |
Marking & Packing |
As per Customer requirement |
100% |

